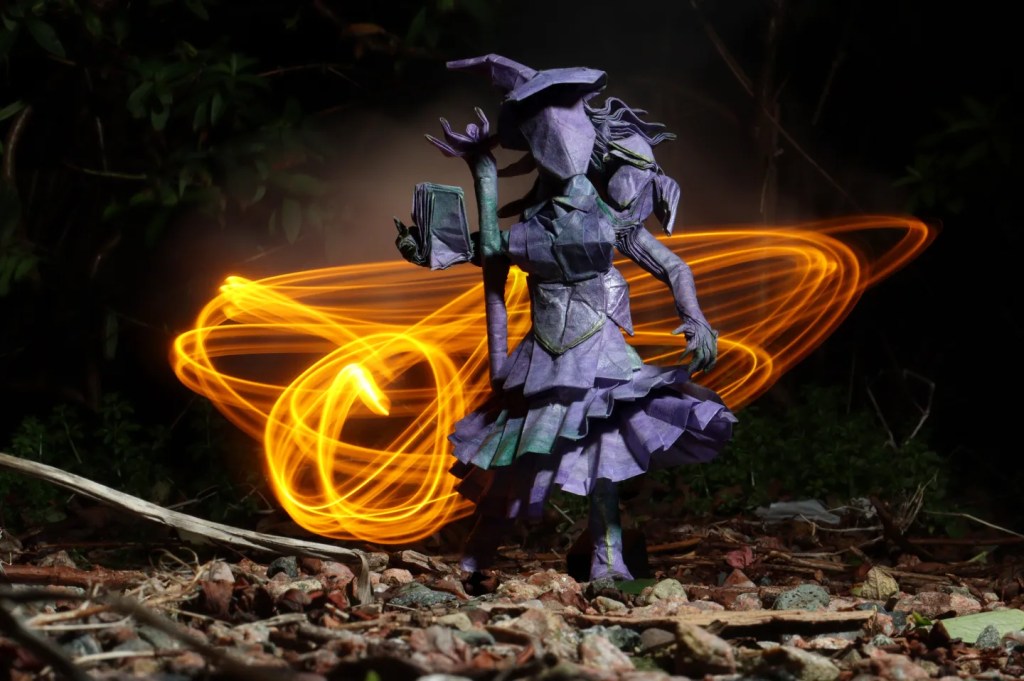
Paper making to me was the biggest step forward in trying more challenging models, and helping them achieve their full potential
Origami is a traditional Japanese art of paper folding that has been practiced for centuries. One of the most important aspects of origami is the paper used to create the models. Double tissue paper is a popular choice for origami enthusiasts because it is strong, flexible, and easy to work with. In this blog post, we will explore the process of making double tissue paper for origami.
Materials:
– Two sheets of tissue paper (one white and one colored)
– Glue
– Brush
– Scissors
Instructions:
1. Start by choosing two sheets of tissue paper, one white and one colored. The colored sheet will be the front of the paper, while the white sheet will be the back.
2. Lay the colored sheet face down on a flat surface. Apply glue to the entire surface of the colored sheet using a brush.
3. Place the white sheet on top of the colored sheet, making sure to align the edges. Smooth out any wrinkles or bubbles.
4. Apply glue to the entire surface of the white sheet using a brush.
5. Allow the glue to dry completely. This may take several hours, depending on the humidity and temperature of your environment.
6. Once the glue is dry, carefully peel the two sheets apart. You should now have a double tissue paper with a colored front and a white back.
7. Trim the edges of the paper with scissors to create a neat, even rectangle.
8. Your double tissue paper is now ready to use for origami! Experiment with different colors and patterns to create unique and beautiful models.
In conclusion, making double tissue paper for origami is a simple and fun process that can enhance your origami experience. With a little practice, you can create beautiful and intricate models using this versatile paper.
